
Email Signature Trends 2026: What Designers Are Actually Using
Design your email signature in Figma so your name, role and next step are easy to find. Start from an editable template, personalize the layout and use Marka Email Generator to export the signature for your mailbox.
This guide brings together practical layout ideas and the Figma-to-installation workflow. Open Marka in Figma to follow along.
Start with a signature example
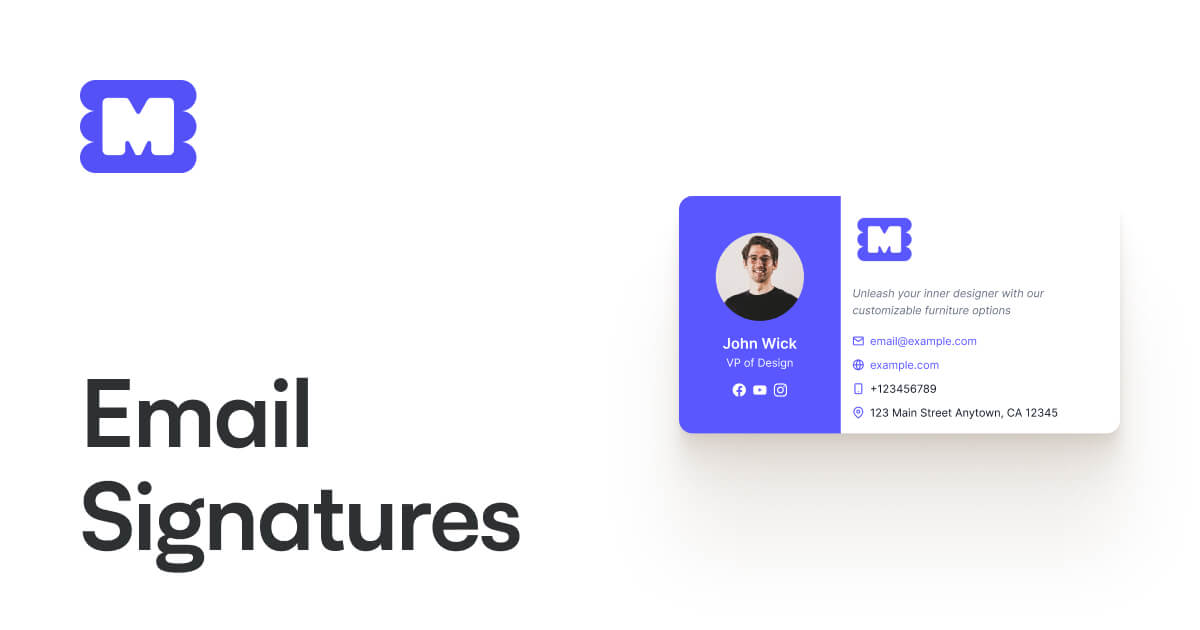
Explore the Figma email signature templates to preview the file and customize a layout. The Figma resource is free; Marka’s free plugin plan has limited exports. See current plan details before exporting a team’s signatures.
Two useful approaches are a compact text-first signature for everyday replies and a branded layout with a logo for introductions. Keep the same contact details in both, and choose one main action such as visiting your website or booking a call.
1. Design for light and dark backgrounds
Dark mode is a recipient preference, not a universal default. A transparent logo is not automatically safe: dark artwork can disappear against a dark background. Try a contrasting outline or an intentional background plate around the logo.
Keep names and contact details as live text. Test both themes after installing the signature, because signature editors may remove CSS. This template is not being presented as providing verified automatic logo swapping.
2. Build a compact layout in Figma
Start with your name, role, company and one useful contact link. Add a phone number or social profile only if recipients need it. A narrow single-column layout is a useful option for replies; a two-column layout can give a logo its own space.
Avoid a rigid 600px signature when a smaller layout will do. Check long names, mobile replies and quoted threads. Fewer elements make maintenance easier, but a higher click-through rate needs measurement rather than assumption.
3. Give the signature one clear action
A scheduling link suits people who arrange meetings; a website or portfolio link may fit other roles better. Use a descriptive text link such as “Book a consultation” and check that it opens the right destination.
If you add a campaign banner, keep it separate from core contact information and remove it when the campaign ends. Do not put essential details only in a banner image.
4. Use images and animation carefully
A still logo is a simple starting point. If you use a GIF, make its first frame meaningful and check clients where animation is disabled or unavailable. Keep image files small and avoid distracting loops.
Remote images can be blocked by recipient settings. Provide useful alt text and make the signature understandable without them.
5. Create a reusable Figma signature for your team
Keep shared brand elements in Figma, then personalize each person’s name, role and links before export. A Figma component update does not automatically update signatures already installed in mailboxes.
A CRM or signature-management service may offer centralized deployment or personalization. Check that service’s supported fields and installation process; do not assume exported HTML alone maps employee data or deploys it across a team.
For disclaimer text, use wording supplied by your organization and keep it readable. A signature template does not determine which notices your organization requires.
Customize your signature frame
Keep one approved signature as the master design and duplicate it for each person. Use shared Figma components for the logo and repeated brand elements. Try a long name and a two-line role before settling on the spacing.
Review the signature at actual size. Give the contact links enough room to remain readable, and keep the primary action distinct from the rest of the details. Save the approved version beside any experiments so teammates can find the right frame to export.
Build and export in Figma
- Open the Figma email signature templates and duplicate the file into your drafts.
- Edit the name, role, contact details, logo and links in your chosen frame.
- Open Marka, select the signature frame and export HTML within your plan’s allowance.
- Open the exported HTML in a browser and copy the rendered signature for a rich-text signature editor. Pasting HTML source into that editor can display the code as text.
- Send a new message and a reply to check links, images, spacing and both display themes.
Open Marka in Figma to export your signature
Install in Gmail or Outlook
These steps follow the linked vendor instructions, reviewed on 18 September 2026. Installation and rendering of this particular template have not been independently tested for this revision.
Gmail on desktop
Open Settings → See all settings → General → Signature. Create a signature, paste the rendered content into the editor, choose defaults for new messages and replies, and save changes. Send a test message and inspect the received copy. See Google’s Gmail signature instructions.
New Outlook for Windows and Outlook on the web
Open Settings → Accounts → Signatures, add a signature, paste the rendered content, choose when to include it and save. Available settings may depend on account and version.
Classic Outlook for Windows
In a new message, open Message → Signature → Signatures. Create a signature, paste the rendered content into the editor and set the account defaults. This editor is not a raw HTML source editor. See Microsoft’s instructions for each Outlook version.
If pasting changes the formatting, simplify the layout and retest. Record the app version and test date before rolling it out to a team. Mobile apps can have separate signature settings.


